Need help in using our WordPress theme?
To create a new Ticket for an event, navigate your WordPress Dashboard to Tickets > Tickets.

|
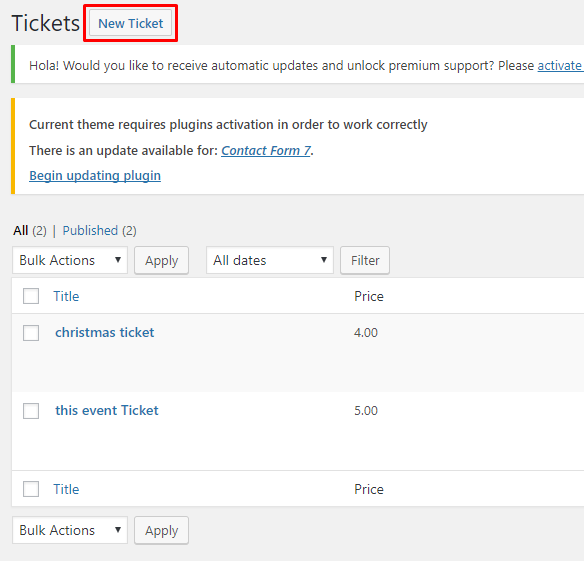
The Tickets page will show. You will see all the tickets that are created.
To make the ticket, click on the New Ticket button at the top.
|
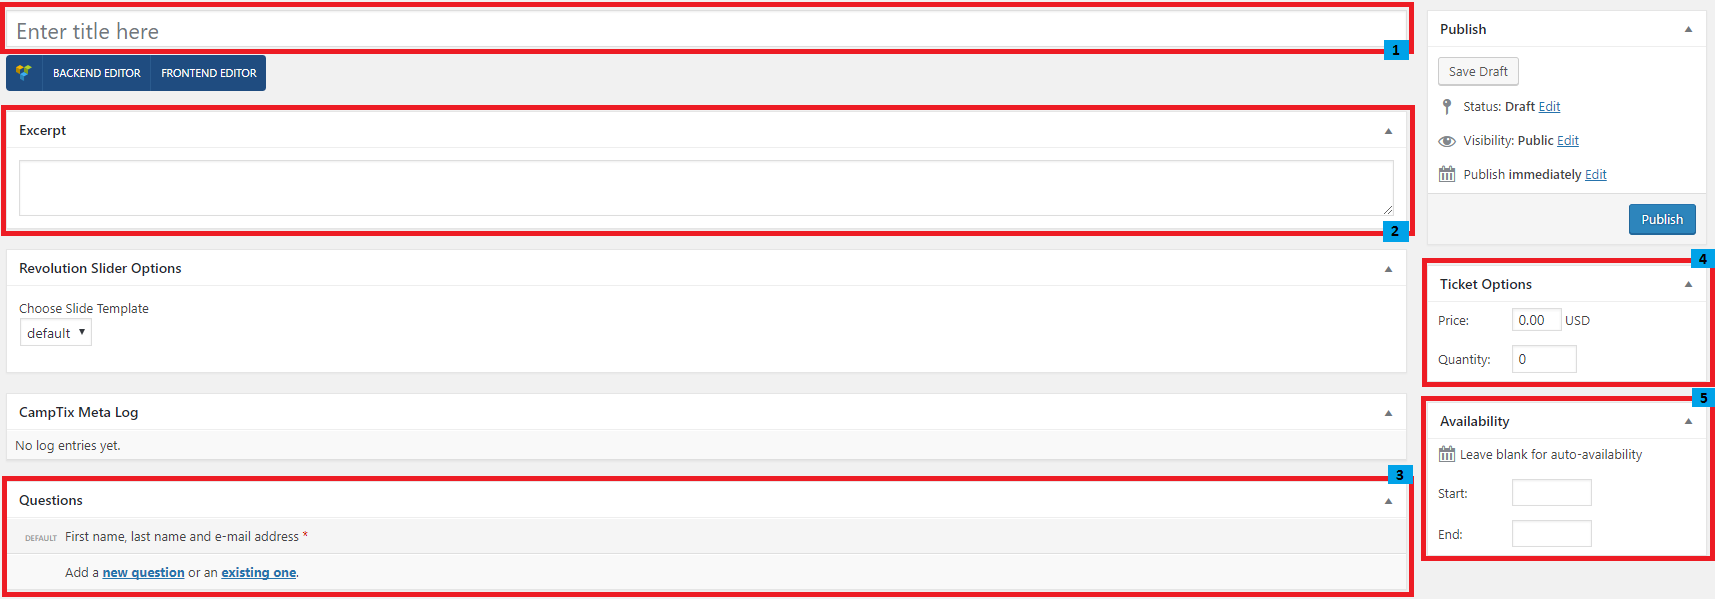
You’ll be directed to the Add New Ticket page. Add the details for the Ticket. Add the details for the ticket.
|
- Title - Name of the tickets.
- Excerpt - Small description of the tickets.
- Questions - Information needed when customers wants to buy/register a ticket. You can add more question by adding new question or an exiting one.
- Ticket Options - The price and quantity of the ticket to be sold.
- Availability - When the ticket is available.
To delete a Ticket, navigate your Dashboard to Tickets > Tickets
In the Tickets page, you will see all the created tickets.
To delete a ticket, you have two options:
Single Ticket Delete - Hover your mouse pointer on the ticket that you would like to delete. You will see a Trash option pop-up. Click on Trash to delete.
Multiple Tickets Delete - To delete multiple tickets, click on the box beside the tickets you would want to delete. Then click on the drop-down box for Bulk Actions and choose the Move to Trash option. Click on Apply button to delete.
To add a ticket to a page or event’s page, you can use 2 options:
Element
Widget
Element
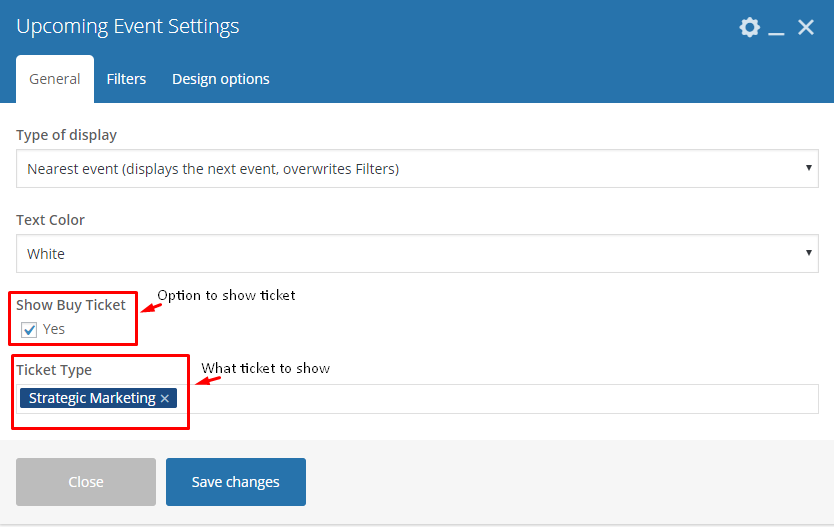
Using the Upcoming Event element in the VC, you can choose to show a ticket and set which ticket to use.
Widget
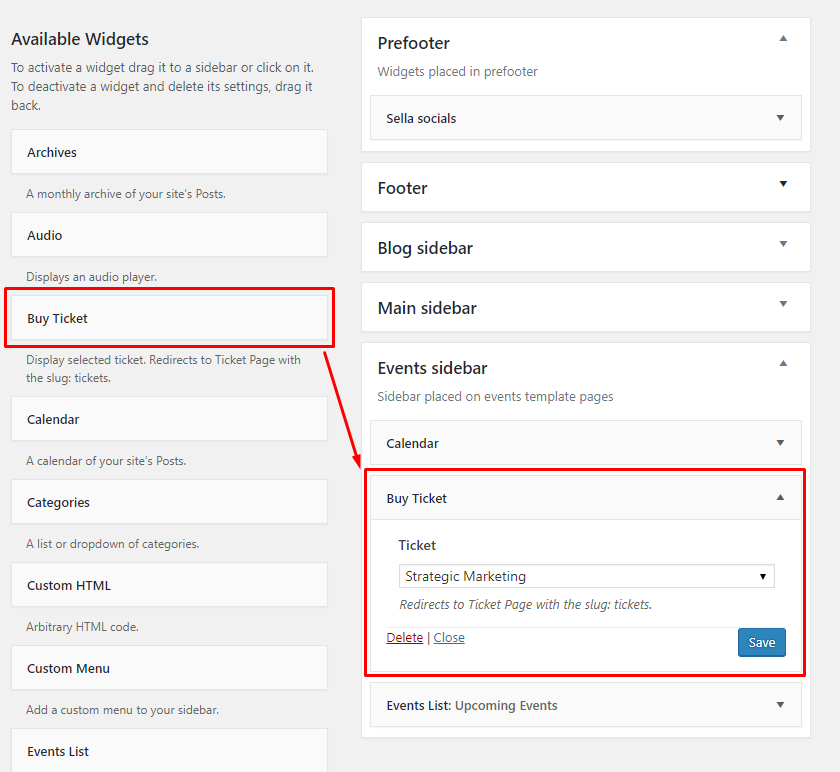
To make the button a widget in the sidebar of the event’s page, you can add a Buy Ticket widget on the sidebar.
Go to Appearance > Widget, drag and drop the Buy Ticket widget to the side bar that you will use. Then add which ticket you would like to show in the sidebar.
To setup a page where the Buy Ticket Now button will direct, follow these steps:
Step 1 - Create a new page in Pages.
Step 2 - Write the title of the page. Then on the editor container write [camptix].
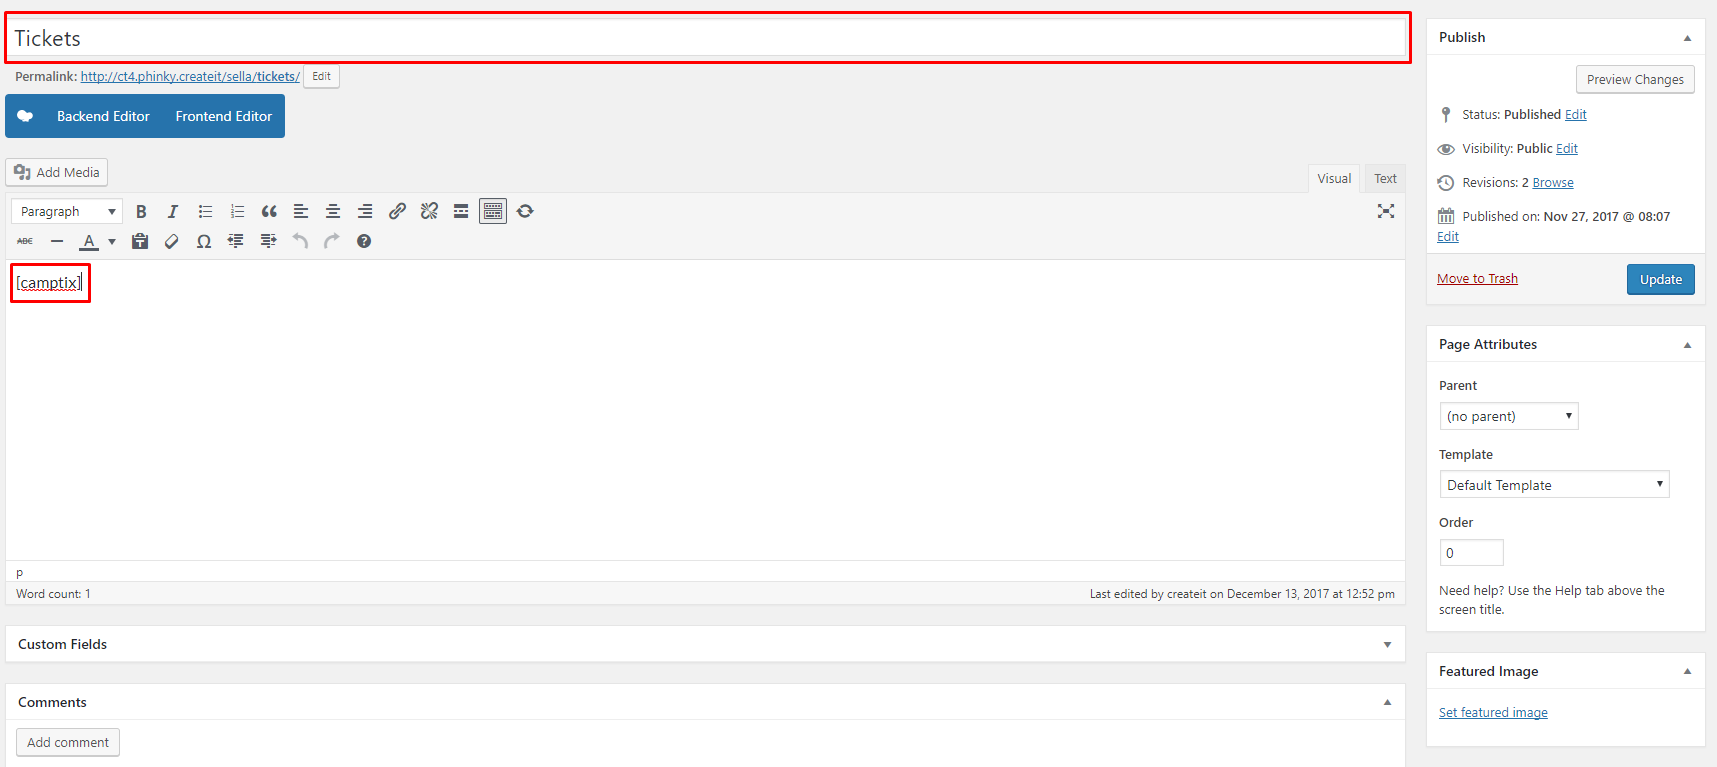
Step 3 - After, click on the Publish button, to save.
Step 4 - Once the page is saved, check the permalink of the page. Click on the edit button and change the inside of the text box to tickets, then click the OK button.

Step 5 - Click on the Update button, to save.
Note
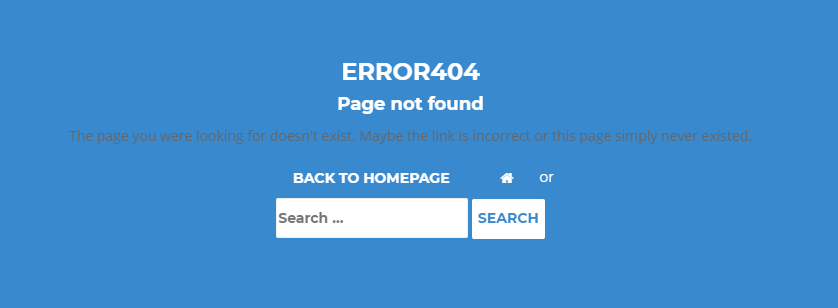
The page that is made is the page that when the Buy Ticket Now button is clicked, this page will be directed. So if you won’t do this, when you click the Buy Ticket Now button you will get an error.
|

