Need help in using our WordPress theme?
The Event Organizers are the ones that are making/organizing the events. Just like the event venues, an event organizer can be connected to more than one event at a time. To make it efficient and fast you can store the event organizers information in the database by using the Events plugin then Organizers.
To create an event organizer, follow the steps:
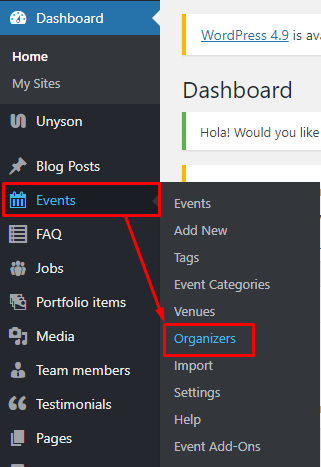
Step 1 - In your Dashboard, navigate to Events > Organizers. You will be directed to the Organizers page.
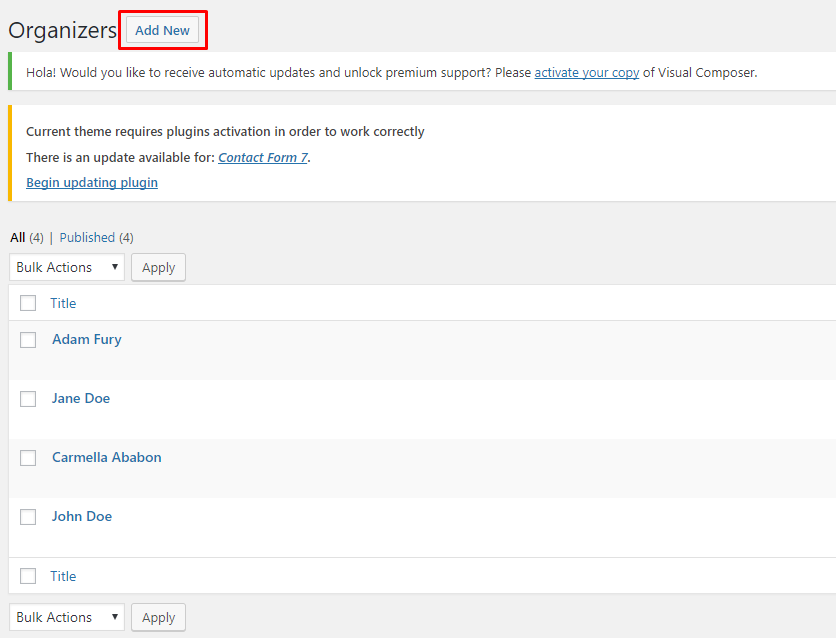
Step 2 - Click on the Add New button to add a new organizer. The Add New Organizer page will pop-up.
Step 3 - This is where you will add the details of the venue.
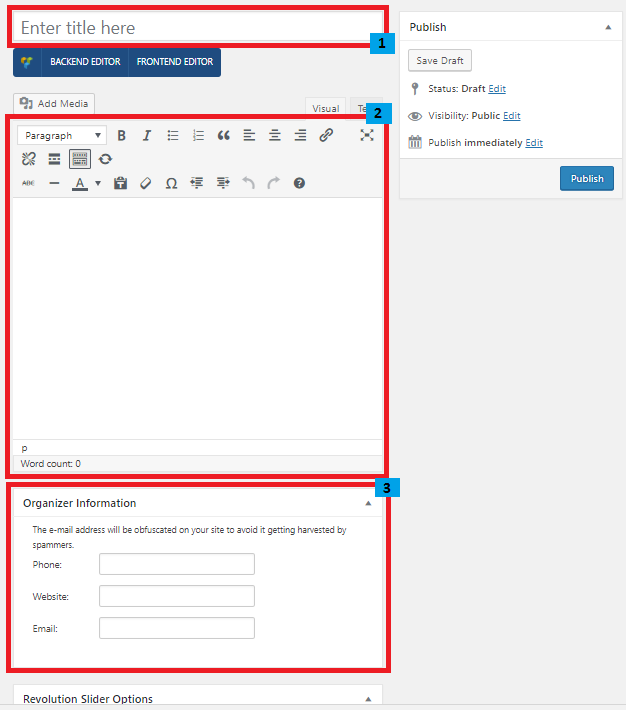
Title - The name of the organizer.
Editor container - You can put additional details about the organizer in this area, like pictures and descriptions.
Venue Information - Specific information of the organizer.
- Phone - Contact number of the organizer.
- Website - Website of the organizer if any.
- Email - Email address of the organizer.
Step 4 - Once finished with adding the details, click on the Publish button to save.
To delete an Event Organizer, navigate your Dashboard to Events > Organizers.
In the Organizers page, you will see all the created organizers.
To delete an event organizer, you have two options:
Single Organizer Delete - Hover your mouse pointer on the organizer that you would like to delete. You will see a Trash option pop-up. Click on Trash to delete.
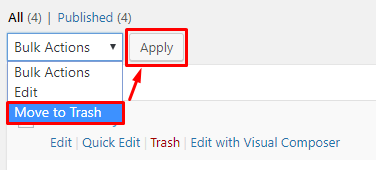
Multiple Organizer Delete - To delete multiple organizers, click on the box beside the organizers you would want to delete. Then click on the drop-down box for Bulk Actions and choose the Move to Trash option. Click on Apply button to delete.